
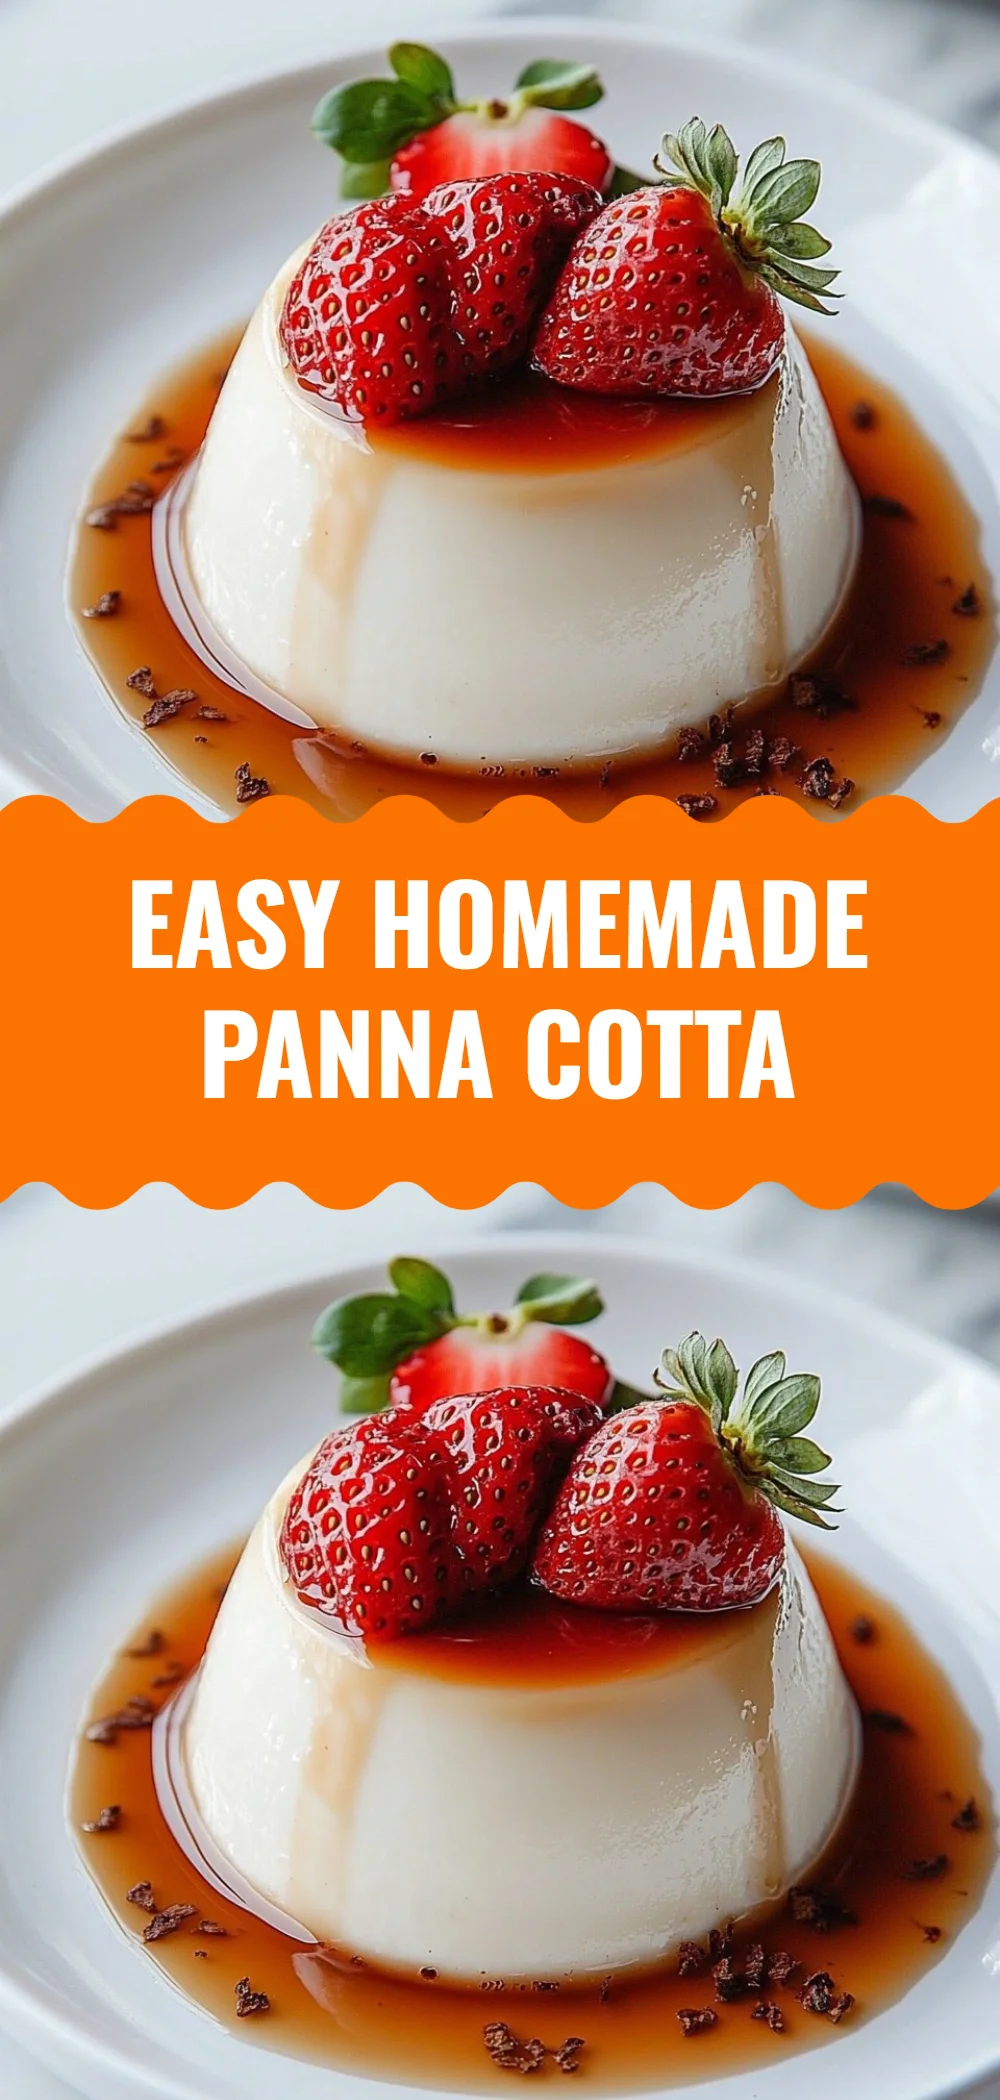
Easy Homemade Panna Cotta
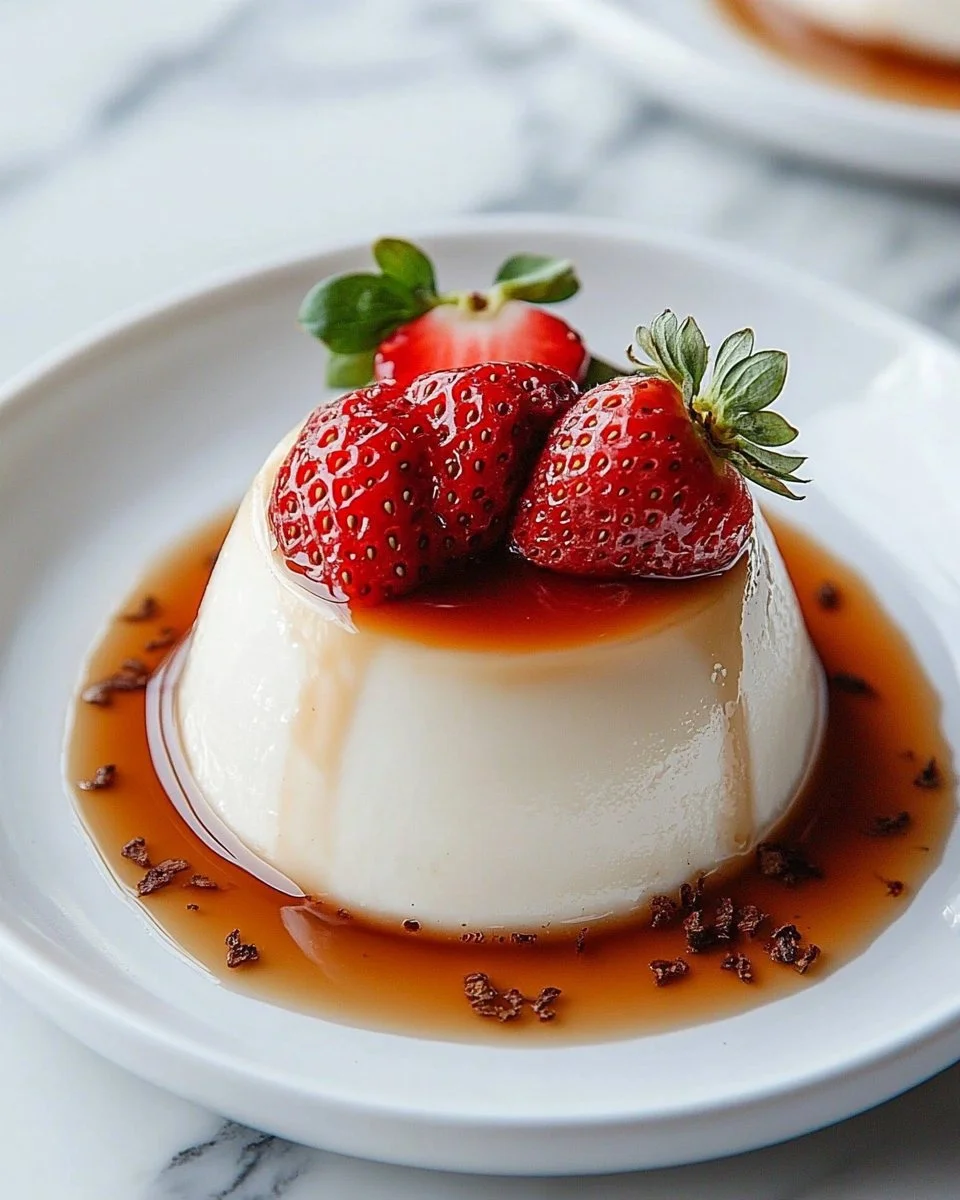
Easy Homemade Panna Cotta is a delightful culinary creation that embodies elegance and simplicity. This creamy dessert offers a luxurious texture that evokes a sense of indulgence, while its light sweetness leaves you yearning for more. A classic Italian treat, panna cotta translates to “cooked cream,” and its name does justice to the silky, smooth experience it provides. It’s perfect for special occasions or a casual family dinner, making it a versatile addition to your dessert repertoire. Follow this step-by-step recipe to create a stunning dessert that will impress your guests and satisfy your sweet tooth.
Why You’ll Love This Recipe
This panna cotta recipe stands out for several reasons. First and foremost, it’s incredibly easy to prepare, so even novice cooks can confidently take it on. With just a handful of ingredients and minimal cooking time, this recipe guarantees a delicious result with little fuss. It’s also family-friendly, pleasing even the pickiest eaters with its delightful flavor and creamy texture. Whether you’re looking for a quick dessert or an adaptable traditional treat, panna cotta is a versatile choice that resonates with everyone. Plus, its simplicity allows for endless variations to suit any palate!
Ingredients
To create Easy Homemade Panna Cotta, you will need the following ingredients:
- 2 cups Heavy Cream: Rich and luscious, this creates the creamy base that makes panna cotta so irresistible.
- 1 cup Whole Milk: Enhances the creaminess while balancing the flavors for a perfect consistency.
- ½ cup Granulated Sugar: Adds sweetness and enhances the overall flavor profile, making each bite delightful.
- 2 teaspoons Powdered Gelatin: Provides the structure needed to set the panna cotta while maintaining its creamy texture.
- 3 tablespoons Cold Water: Used to bloom the gelatin, so it’s ready to incorporate smoothly into the cream mixture.
- 1-2 teaspoons Flavoring (Optional): Customize your panna cotta with citrus zest, vanilla extract, or fruit puree for added flair.
Step-by-Step Directions
-
Gather all ingredients: Start by assembling all necessary components on your kitchen counter. Having them within easy reach makes the process seamless and enjoyable.
-
Warm the cream and milk: In a medium saucepan, mix the heavy cream and whole milk together and place over low heat. Stir gently, allowing the mixture to warm up without boiling.
-
Dissolve the sugar: Add the granulated sugar to the warming cream mixture. Whisk gently until the sugar completely dissolves, which enhances the flavor of the dessert.
-
Bloom the gelatin: In a small bowl, sprinkle the powdered gelatin over the cold water. Let it sit for about 5-10 minutes. This process, known as blooming, prepares the gelatin for integration.
-
Combine mixtures: Once the cream mixture is warm, remove it from heat and stir in the bloomed gelatin. This will ensure the gelatin dissolves evenly, creating a silky texture.
-
Add flavoring: If you desire, mix in any flavoring options like citrus zest or fruit puree. This step adds a personal touch and elevates the flavor of your panna cotta.
-
Set the panna cotta: Allow the mixture to cool for a few minutes before pouring it into your serving cups. This ensures even distribution and a lovely presentation.
-
Refrigerate: Cover the filled cups with plastic wrap and place them in the refrigerator to chill. Allow at least 4 hours or overnight for the panna cotta to set perfectly.
-
Serve with flair: When you’re ready to serve, dip the cups briefly in warm water to loosen the edges. You can serve them directly or pop them out onto a plate. Top with fresh berries, sauce, or your favorite garnishes for an inviting presentation.
Tips & Tricks
For the best results, ensure that your gelatin is fully dissolved before adding it to the cream mixture to avoid any lumps. You can also experiment with various flavorings, such as a hint of almond extract or a swirl of coffee for a mocha panna cotta twist. If you want a more vibrant dessert, incorporating a layer of fruit puree can not only enhance the flavor but also make for a striking visual presentation.
Serving Suggestions & Pairings
Serve your Easy Homemade Panna Cotta with fresh berries like strawberries, raspberries, or blueberries for a burst of flavor and color. A drizzle of chocolate sauce or a spoonful of caramel can elevate the experience further. You can also pair the panna cotta with espresso or a light dessert wine for a sophisticated finish to your meal.
Nutritional Information
A serving of Easy Homemade Panna Cotta typically contains around 300 calories, making it an indulgent yet manageable treat. While it’s certainly a delightful indulgence, be aware of portion sizes if you’re watching your caloric intake. Remember, moderation is key to enjoying sweets without overdoing them!
Storing Tips & Variations for Easy Homemade Panna Cotta
Storing your panna cotta is quite simple. Keep the covered cups in the refrigerator for up to three days. If you’d like to make this dessert a bit healthier, consider swapping out some heavy cream for Greek yogurt or using a plant-based milk alternative. For adventurous variations, try adding coffee, coconut, or even matcha for a unique spin on the classic panna cotta.
Conclusion for Easy Homemade Panna Cotta
Don’t wait any longer to indulge in this creamy, luscious Easy Homemade Panna Cotta! With its simple ingredients and straightforward preparation, it’s the perfect dessert for any occasion. Impress your friends and family with this delightful treat that is sure to leave a lasting impression. Gather your ingredients and get ready to savor every delicious bite!
FAQs
-
Can I make panna cotta in advance?
Absolutely! Panna cotta can be made a day ahead and stored in the refrigerator until you’re ready to serve. -
Can I use alternatives to gelatin?
Yes, agar-agar is a popular vegetarian alternative to gelatin; just follow the package instructions for the right substitution. -
How do I avoid lumps in my panna cotta?
Ensure the gelatin is fully dissolved and incorporated into the cream mixture while it’s still warm to prevent lumps from forming. -
What is the best way to serve panna cotta?
You can serve it directly from the cups or invert it onto a plate and garnish with fresh fruits or sauces for an elegant presentation. -
Can I freeze panna cotta?
It’s not recommended to freeze panna cotta, as it can alter the smooth texture. Enjoy it fresh or store it in the refrigerator for best results.
Easy Homemade Panna Cotta
Ingredients
Method
- Gather all ingredients on your kitchen counter.
- In a medium saucepan, mix the heavy cream and whole milk together over low heat.
- Add the granulated sugar and whisk until fully dissolved.
- In a small bowl, sprinkle the powdered gelatin over the cold water and let it bloom for 5-10 minutes.
- Once the cream mixture is warm, remove it from heat and stir in the bloomed gelatin.
- Mix in any desired flavoring options.
- Cool the mixture for a few minutes before pouring into serving cups.
- Cover with plastic wrap and refrigerate for at least 4 hours or overnight.
- To serve, dip cups in warm water to loosen and garnish with fresh berries or sauces.