
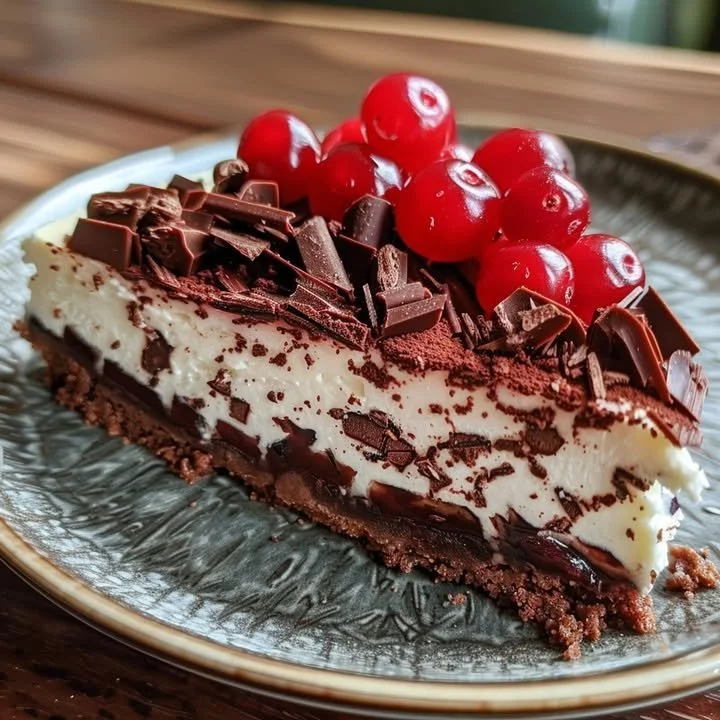
Black Forest Cheesecake
Black Forest Cheesecake combines the rich, creamy decadence of cheesecake with the nostalgic flavors of a classic Black Forest cake. This delightful dessert is layered with a velvety cheesecake filling, a luscious cherry topping, and a chocolate cookie crust that adds a satisfying crunch. The contrasting textures and flavors make it an unforgettable dessert that’s sure to impress your family and friends. The best part? This recipe is easy to follow, making it perfect for both novice bakers and seasoned chefs. Gather your ingredients, and let’s embark on this step-by-step baking adventure!
Why You’ll Love This Recipe
This Black Forest Cheesecake offers numerous benefits that will make it a staple in your dessert repertoire. First and foremost, it’s incredibly easy to prepare, requiring minimal ingredients and fuss. It’s family-friendly, appealing to all ages with its sweet, familiar flavors. You can whip it up quickly or choose the traditional style, allowing for flexibility in your baking. With just a handful of accessible ingredients, this decadent dessert is just a few steps away from gracing your table.
Ingredients

- 1 1/2 cups chocolate cookie crumbs
- 1/4 cup granulated sugar (for crust)
- 1/3 cup unsalted butter, melted
- 24 oz cream cheese, softened
- 1 cup granulated sugar (for filling)
- 1 teaspoon vanilla extract
- 1 cup heavy cream, whipped
- 2 cups canned or jarred cherries, drained
- 1/4 cup granulated sugar (for cherry filling)
- 1 tablespoon cornstarch
- 1/4 cup water
- Chocolate shavings or curls for garnish
- Whipped cream for garnish
- Maraschino cherries for garnish
Step-by-Step Directions
-
Prepare the Crust: In a medium bowl, mix the chocolate cookie crumbs, granulated sugar, and melted butter until the mixture resembles wet sand. Ensure it’s well combined before pressing firmly into a 9-inch springform pan. This will create a sturdy base for your cheesecake that perfectly complements the creamy filling.
-
Make the Cheesecake Filling: Using an electric mixer, beat the softened cream cheese in a large mixing bowl until it’s completely smooth and creamy. Gradually add in the granulated sugar and vanilla extract, mixing until everything is well incorporated. This step is crucial for achieving a light and fluffy cheesecake filling that melts in your mouth.
-
Incorporate the Whipped Cream: Gently fold the whipped cream into the cream cheese mixture, taking care to maintain the light and airy texture. This will add a delightful fluffiness to your cheesecake filling, making each slice feel indulgent yet light.
-
Combine Layers: Pour the cheesecake filling over the prepared crust, spreading it evenly with a spatula. Give it a gentle shake to ensure an even layer and minimize any air pockets which could lead to cracking once chilled.
-
Chill the Cheesecake: Cover the springform pan with plastic wrap and refrigerate for at least four hours, or until the cheesecake has fully set. This is the perfect opportunity to take a break and enjoy the delightful aromas wafting from your kitchen.
-
Prepare the Cherry Filling: In a saucepan over medium heat, combine the drained cherries, granulated sugar, cornstarch, and water. Stir continuously until the mixture thickens, about 5-7 minutes. This luscious topping will provide a beautiful contrast to the creamy cheesecake, making it visually appealing and delicious.
-
Assemble: Once your cheesecake has set, carefully spread the cooled cherry filling over the top, ensuring an even distribution of those sweet, juicy cherries that capture the essence of a Black Forest dessert.
-
Garnish and Serve: Just before serving, top your cheesecake with rich chocolate shavings, a dollop of whipped cream, and a maraschino cherry on top for that authentic finishing touch. Your Black Forest Cheesecake is now ready to dazzle your guests!
Tips & Tricks
To elevate your Black Forest Cheesecake even further, consider a few chef’s secrets. For a more intense chocolate flavor, incorporate cocoa powder into the crust mixture or use dark chocolate cookies for your crust. You can also experiment with fresh cherries if they are in season, ensuring the tartness contrasts beautifully with the sweetness of the cheesecake.
Another great tip is to let your cheesecake sit at room temperature for about 30 minutes before serving; this will enhance the flavors and make it easier to slice. If you want a visual treat, create a piping pattern with whipped cream around the edges for a professional presentation.
Serving Suggestions & Pairings
Presenting your Black Forest Cheesecake can be as delightful as its flavor. Serve it on a beautiful cake stand to showcase its layers to shine, and consider adding a sprinkle of chocolate shavings or a cherry topping on individual slices. For added indulgence, pair with a cup of coffee or a glass of milk to enhance the taste experience.
Don’t shy away from serving it at gatherings; it’s perfect for birthdays, anniversaries, or just a sweet treat after dinner with friends. Pair it with light fruit salads or a scoop of vanilla ice cream to bring additional flavors and textures to the plate.
Nutritional Information
While indulgence is key in desserts like these, it’s helpful to be aware of the nutritional content. A typical slice of Black Forest Cheesecake contains approximately 450-500 calories, making it a sweet yet rich treat. Balanced with the cherries, this dessert also offers some dietary fiber and antioxidants. So, while it’s an irresistible indulgence, enjoy every bite mindfully!
Storing Tips & Variations for Black Forest Cheesecake
Your Black Forest Cheesecake can be stored in the refrigerator for up to 5 days. Ensure to cover it tightly to maintain freshness. If you’re looking to make this dessert ahead of time, it’s freezer-friendly! Just wrap slices in plastic wrap and store in a freezer-safe container for up to 2 months.
For variations, consider making mini cheesecakes in muffin tins for individual servings or experimenting with flavors by substituting cherries with other fruits like raspberries or strawberries for a different twist.
Conclusion for Black Forest Cheesecake
Now that you’re equipped with the recipe for this delectable Black Forest Cheesecake, it’s time to make your own and indulge in the creamy, decadent experience it brings. Perfect for any occasion, this show-stopping dessert will surely impress those who are lucky enough to sample it.
So why wait? Gather your ingredients and delight in creating a cheesecake that marries classic flavors with your personal touch.
FAQs
-
Can I use fresh cherries instead of canned or jarred?
Yes, fresh cherries can be used! Just pit and slice them before cooking for the topping. -
How can I prevent my cheesecake from cracking?
Make sure to mix the filling ingredients on low speed and avoid over-mixing. Chilling it fully before serving also helps prevent cracks. -
Is there a gluten-free option for the crust?
Yes! You can substitute chocolate cookie crumbs with gluten-free cookies or use crushed nuts for a grain-free option. -
How do I know when the cheesecake is fully set?
The cheesecake should be firm on the edges and have a slight jiggle in the center. It will firm up more as it chills. -
Can I make this ahead of time?
Absolutely! This cheesecake can be made a day or two in advance and stored in the refrigerator. Just add toppings right before serving.
Black Forest Cheesecake
Ingredients
Method
- In a medium bowl, mix the chocolate cookie crumbs, granulated sugar, and melted butter until the mixture resembles wet sand. Press firmly into a 9-inch springform pan.
- Beat the softened cream cheese in a large mixing bowl until smooth. Gradually add in the granulated sugar and vanilla extract, mixing until well incorporated.
- Gently fold the whipped cream into the cream cheese mixture to maintain light texture.
- Pour the cheesecake filling over the prepared crust and spread evenly. Shake gently to minimize air pockets.
- Cover with plastic wrap and refrigerate for at least 4 hours or until fully set.
- In a saucepan over medium heat, combine the drained cherries, granulated sugar, cornstarch, and water. Stir continuously until the mixture thickens, about 5-7 minutes.
- Spread the cooled cherry filling evenly over the cheesecake.
- Garnish with chocolate shavings, whipped cream, and maraschino cherries.